
LIVE INDUSTRY EXPERIENCE
Circular Fashion Operations > Delivery SOP
Shared Workflow and Learner Task Allocation
This page will guide you through the process of preparing pre-loved clothing, shoes and accessories for resale, from the moment an item arrives to the moment it finds a new owner.
Every step helps keep usable items in circulation, reduce waste and make the most of what we already have. Along the way, you’ll build practical skills in garment care, quality control, digital organisation, product presentation and online retail.
These experiences can help you develop confidence, discover your strengths and build skills that support your next steps towards further education, training and employment.
Follow each step carefully, record your work clearly and remember: if you’re unsure, stop and ask.
THE FIVE GOLDEN RULES
These five rules help us work safely, consistently and responsibly. They protect the quality of the garments we handle, make it easier for the whole team to work together and help ensure that every item is described honestly before it reaches a new owner.
1. Put safety first. Follow all safety and safeguarding guidance. If you are under 18, work within the tasks and level of supervision agreed for you. Never carry out a task you have not been trained or authorised to do.
2. Handle every item with care. Treat each garment, pair of shoes and accessory respectfully, and follow the approved preparation and storage methods.
3. Be honest about condition. Record marks, damage, missing parts and other flaws clearly. Never hide an issue or guess information you cannot verify.
4. Keep information accurate and organised. Make sure item details, grades, labels and storage locations match. Keep the workspace tidy so others can continue the work safely.
5. Stop and ask when unsure. If you encounter something unexpected, feel uncomfortable or are unsure how to proceed, pause and speak to your supervisor. Asking for help is always the right choice.
HOW THE JOURNEY WORKS
Follow each step to guide a garment from arrival to resale. Complete the instructions, record the information needed and check that each task is finished before moving on.
Done when: What you need to complete before moving to the next step.
Stop and ask: If you're unsure what to do, find an unexpected issue or need extra support, pause and speak to your supervisor.
STEP 1 — ARRIVE
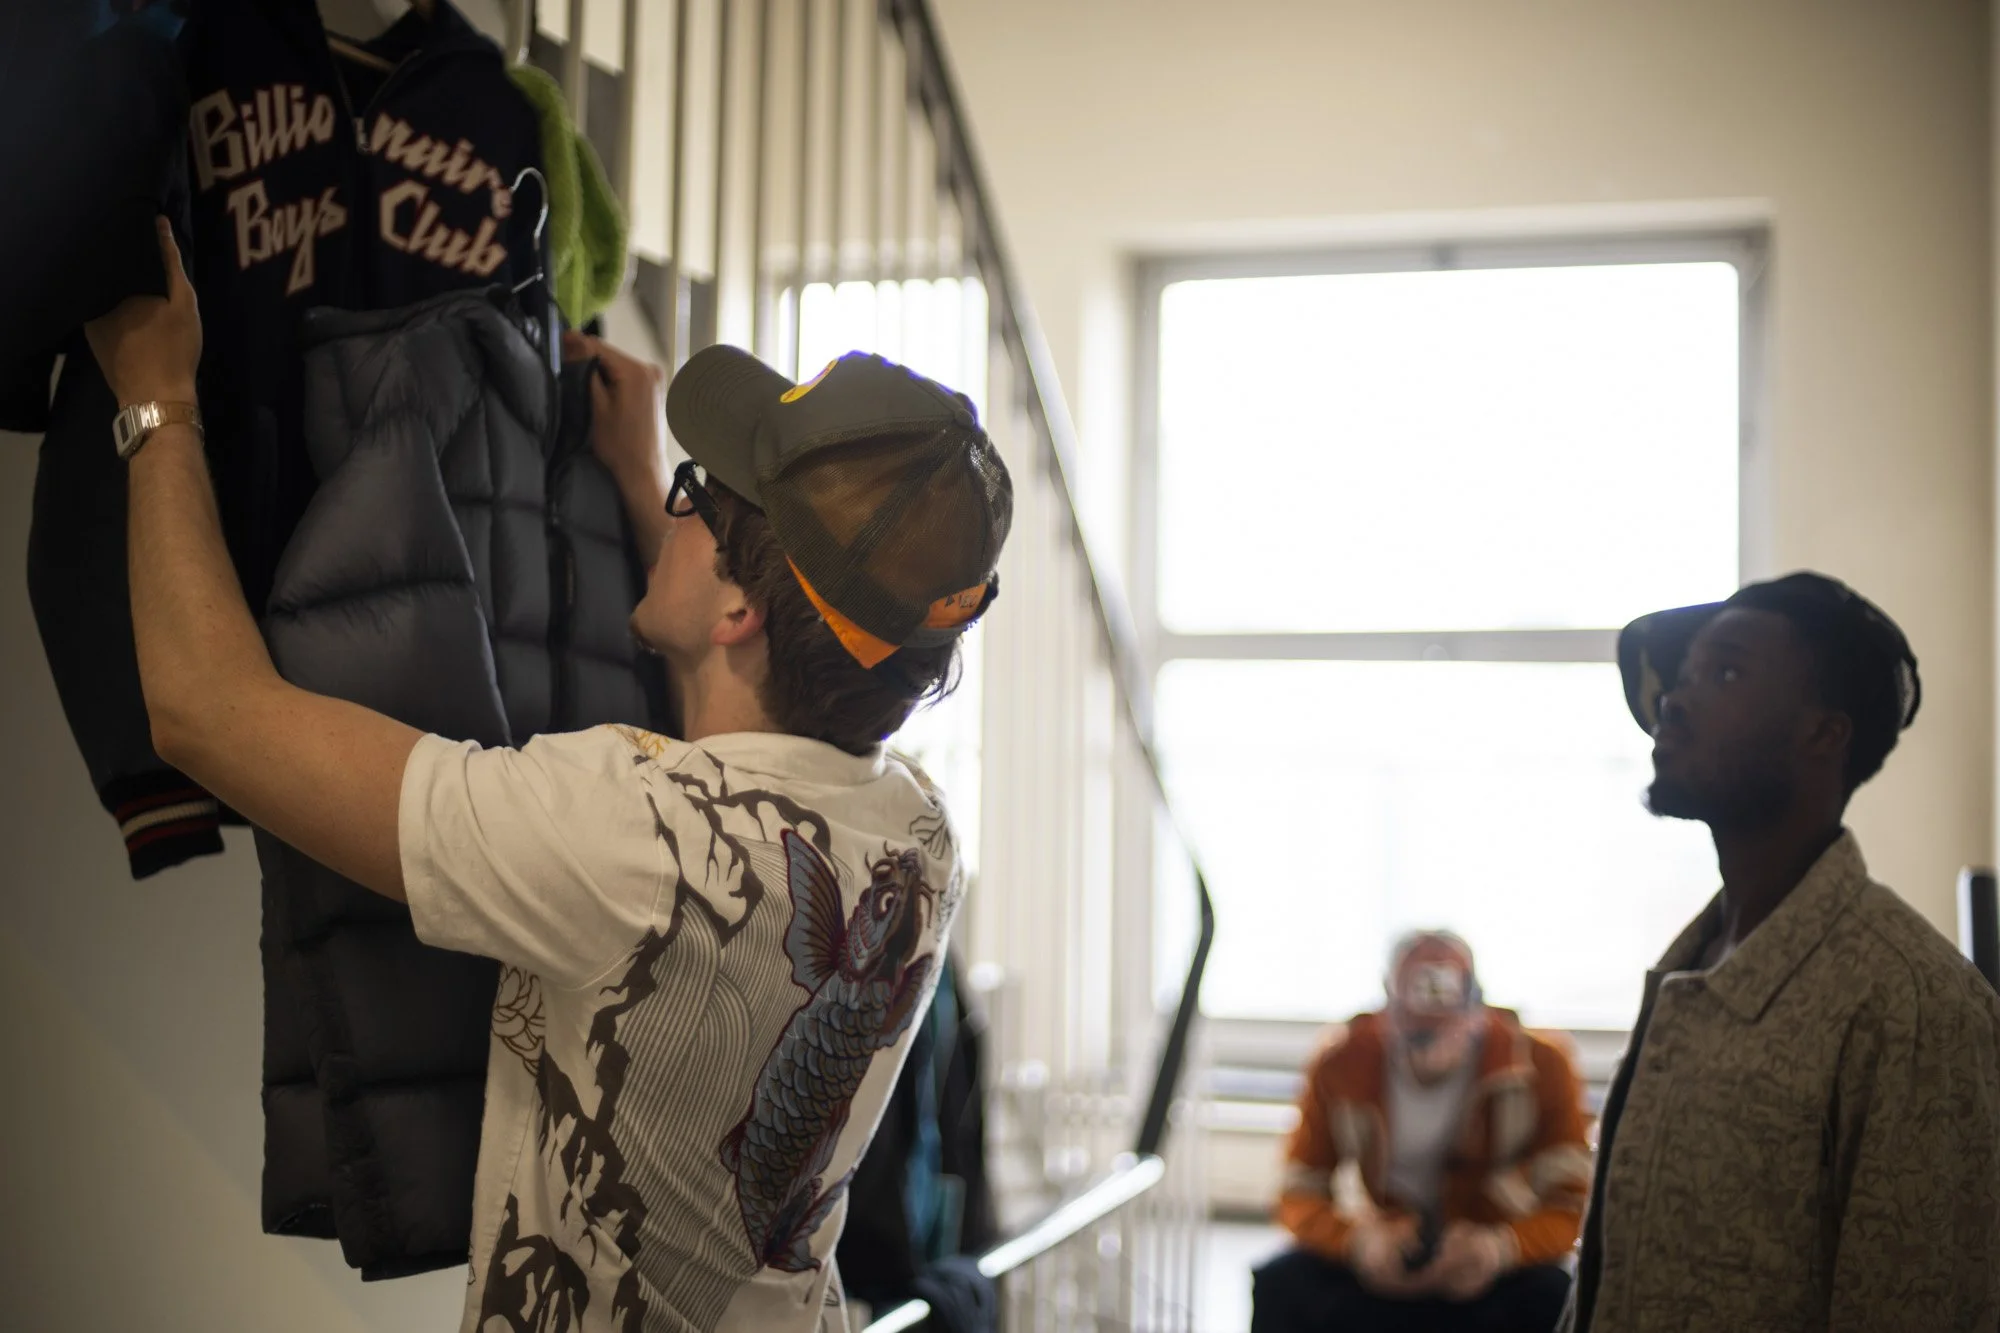
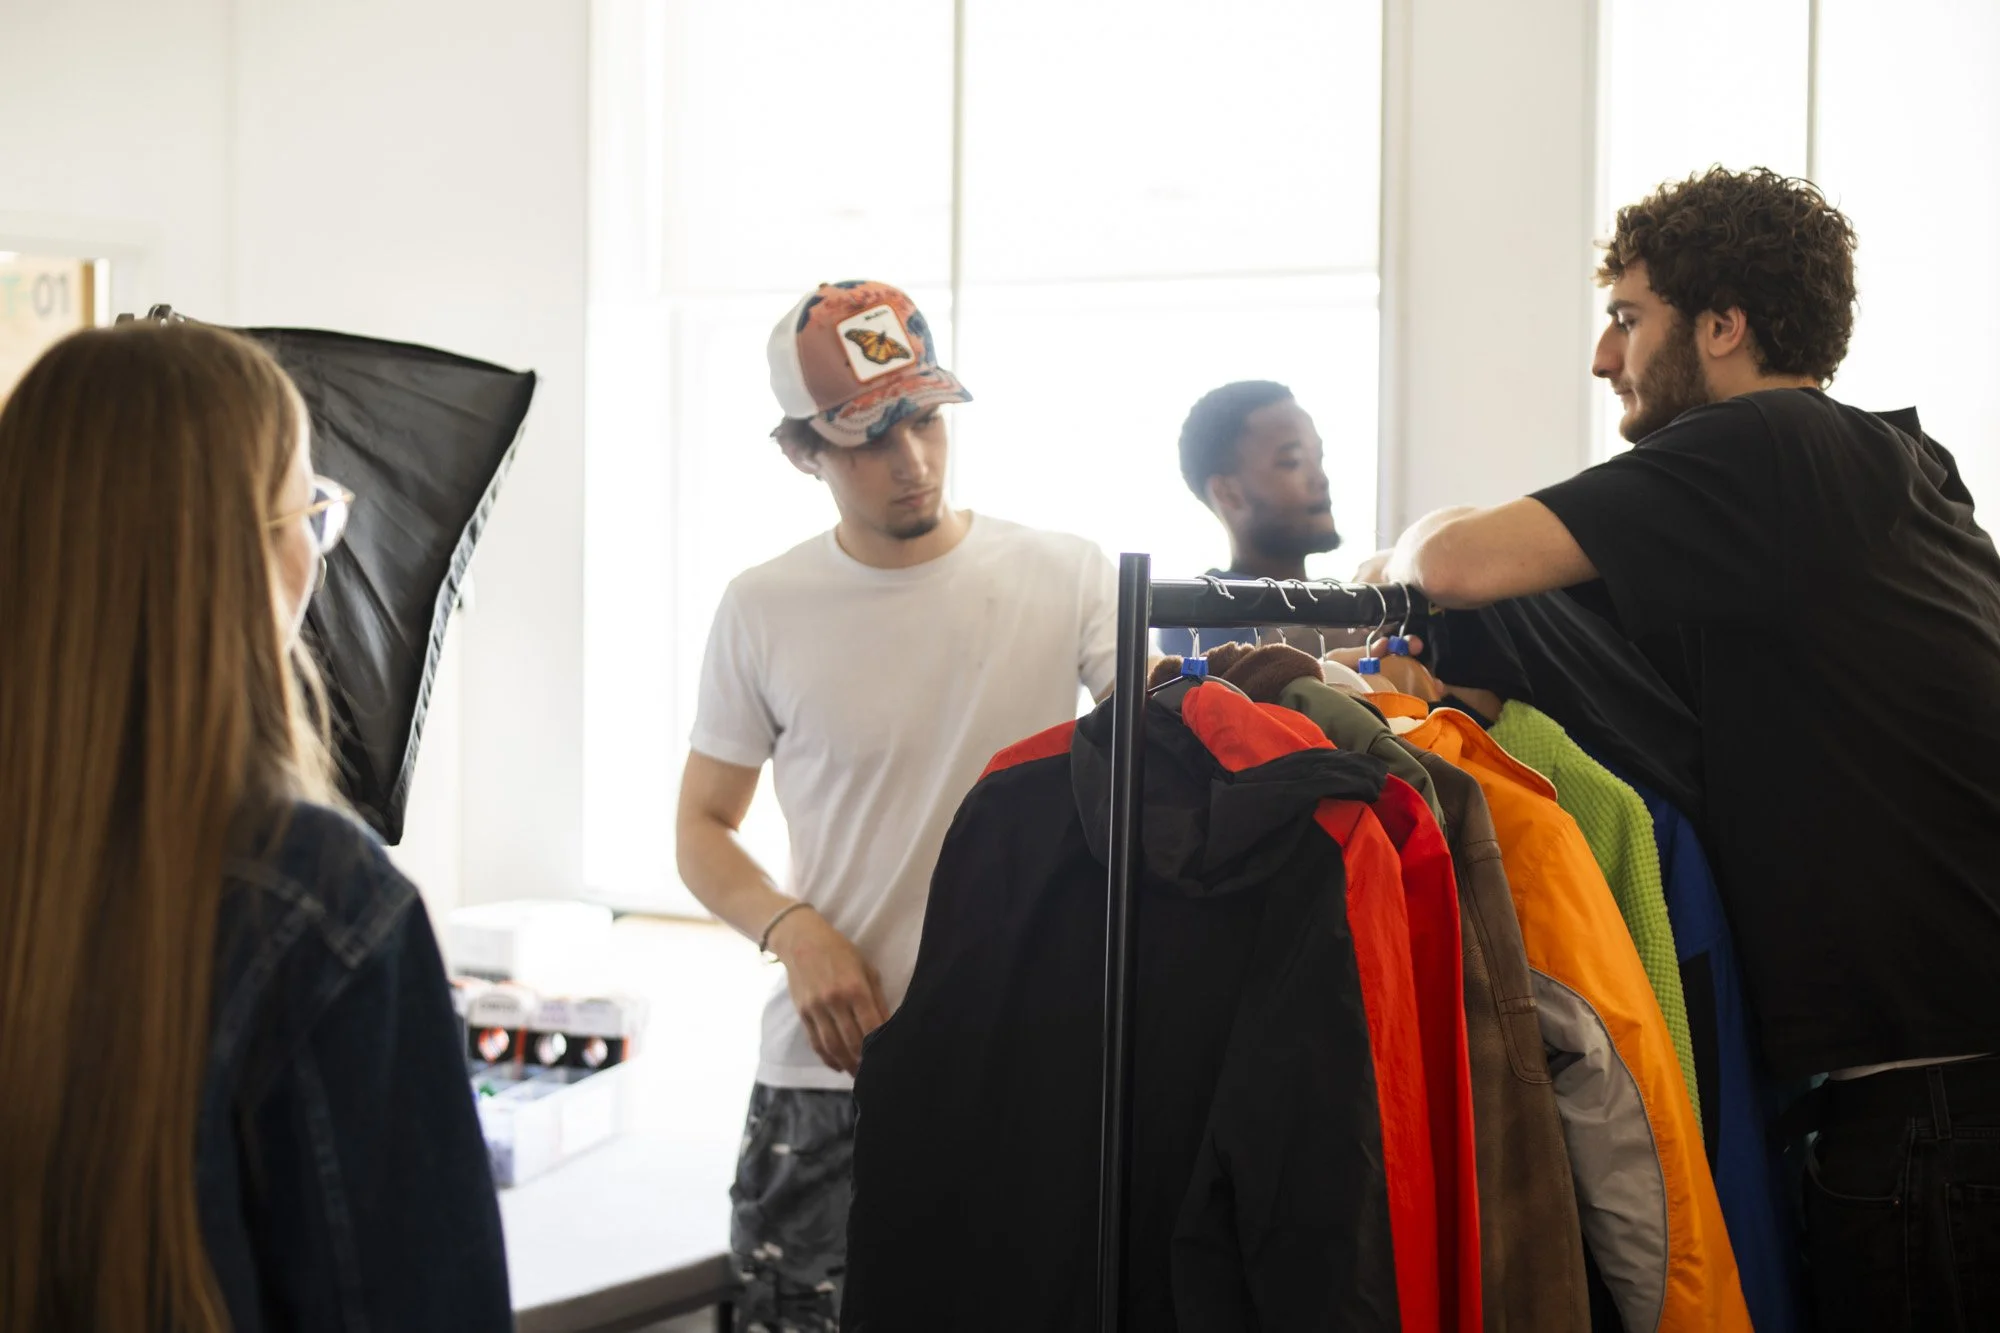
Hang the new batches of clothes together on the empty intake rail and count every item. Keep the batch together so items can be tracked as they move through the process, and use dividers where helpful.
Intake rail setup and batch-sorting guide: [Insert link]
A visual guide showing how the intake rail should be organised, where new batches should be placed and how items should be kept together before processing.
STEP 3 — CHECK AND GRADE
Inspect the front, back, inside, seams, cuffs and labels. Record every flaw, including its size and location. Use the grading cheat sheet to assess the item's condition. If you are between two grades, choose the lower grade and ask staff.
Garment grading cheat sheet: [Insert link]
A reference explaining the different condition grades, from items that are almost new to those that are heavily worn or require repair.
Visual examples of garment conditions: [Insert link]
A collection of photographs demonstrating what each grade looks like in practice, helping you compare an item's actual condition against the grading criteria.
STEP 5 — PHOTOGRAPH
Photograph the item clearly using the approved setup. Capture the full item and the details a buyer needs to see. Include close-up photographs of every recorded flaw so the condition is represented honestly.
Product photography guide: [Insert link]
Instructions explaining the photography process, including the required views, lighting, background and presentation of each item.
Photography setup reference: [Insert link]
A photograph or diagram showing the approved photography area, camera or phone position, lighting arrangement and background.
STEP 7 — STORE IT
Place the correct size cube on the hanger and hang the item on its designated category rail. Arrange garments from smallest to largest so items are easy to locate when sold.
Stockroom layout and storage guide: [Insert link]
A map or annotated photograph showing the designated storage areas and where different types of items should be kept.
Shoes and accessories storage guide: [Insert link]
Instructions showing how shoes and accessories should be organised, labelled and stored separately where appropriate.

STEP 2 — LOG IT
Create a short title for each item using its brand, item type, colour and size. For example: Nike trainers, white, UK 8. Staff or trained university students transfer the information into Airtable, where each item receives its own SKU (Stock Keeping Unit) code.
Item logging template: [Insert link]
A template for recording the essential details of each item before they are entered into the inventory system.
Airtable logging walkthrough: [Insert link]
A step-by-step demonstration of how item information is entered into Airtable, how records are organised and how SKU codes are assigned.
STEP 4 — FRESHEN UP
Prepare the item for photography using the approved method for its category. Remove loose lint or surface dust where appropriate, and make sure the item is presented neatly. Only trained and authorised staff should carry out washing, repairs or use restricted equipment.
Garment-care and preparation guide: [Insert link]
Instructions for preparing clothing, shoes and accessories for resale, including basic checks and appropriate surface-cleaning methods.
Visual preparation guide: [Insert link]
Photographs demonstrating how to prepare different item types, such as removing loose lint, arranging garments neatly and checking shoes and accessories before photography.
STEP 6 — MAKE THE LISTING
Prepare the listing using the item's record and photographs. Include the brand, item type, colour, size, condition and a clear description of its features and any flaws. Staff review listings and make the final decisions on pricing and publication.
Completed product listing example: [Insert link]
An annotated example showing how to write a clear product title and description, include the correct item details and disclose flaws accurately.
STEP 8 — SELL AND SEND
When an item sells, staff locate it using the order and stock records, then check that it matches the listing photographs and description. The item is folded, packed and prepared for dispatch using the correct shipping label.
Packing and dispatch checklist: [Insert link]
A checklist covering the final checks required before a sold item is packed and prepared for dispatch.
ADDITIONAL GUIDANCE
Health, Safety and Safeguarding
The following resources provide further information about safe working practices, safeguarding responsibilities and the tasks each participant is permitted to carry out.
Health and safety guidance: [Insert link]
Information about safe handling, workplace hazards, equipment restrictions and what to do when an item or task appears unsafe.
Safeguarding guidance: [Insert link]
Guidance on appropriate conduct, supervision, reporting concerns and maintaining a safe environment for everyone involved.
Age-specific task permissions: [Insert link]
A reference explaining which activities can be completed by under-18s, university students and staff, including tasks that require additional training or authorisation.
Incident and unsafe-item reporting procedure: [Insert link]
Instructions for reporting damaged, contaminated or potentially hazardous items and escalating safety concerns to the appropriate staff member.
Your next skill starts here.
Learn by doing, build confidence and discover how practical skills can make a difference.
Stop and Ask
If you encounter an unexpected issue, cannot identify an item, notice a discrepancy or are unsure how to proceed, pause and speak to your supervisor.
Staff contact and escalation procedure: [Insert link]
Identifies who to contact when you need clarification, encounter a problem or require approval to continue.
Damaged or unsuitable item procedure: [Insert link]
Explains how to separate and report items that are unsuitable for normal processing, including items that may need repair, reassessment or removal from resale.
Repair and Regrading
Items requiring substantial work must be referred to staff and placed in the designated repair area. Once the necessary work has been completed, the item must return for reassessment before it can proceed through the listing process.
Repair rail procedure: [Insert link]
Explains how items requiring further work should be identified, labelled and stored while awaiting attention.
Regrading procedure: [Insert link]
Describes how an item must be checked again after repair or preparation, ensuring that its final condition grade and listing information remain accurate.
Remember: These resources support the Garment Journey but do not replace the approved procedures or instructions from your supervisor. If you are unsure what to do, stop and ask before continuing.
WORDS WE USE
A glossary of key terms used throughout the Circular Fashion Operations → Delivery SOP, helping team members understand the terminology, tools and processes involved in handling pre-loved items for resale.
SKU (Stock Keeping Unit)
A unique code assigned to an item so it can be identified and tracked.
Airtable
The database used to record and organise information about each item.
Crosslist
The tool used to organise product listings across resale platforms.
Grading
Assessing an item's condition and assigning a grade based on its wear, damage and overall quality.
Flaw
Any imperfection, damage or sign of wear, such as a stain, hole or loose thread.
Repair Rail
The designated area for items that need further work before they can be reassessed.
Listing
The online product page containing an item's photographs, description, size, condition and price.
Stockroom
The designated storage area for items that have been prepared and listed for resale.
Fulfilment
The process of locating a sold item, checking the order, packing it and preparing it for dispatch.
Dispatch
Sending a sold item to its buyer.
Regrading
Checking an item's condition again after cleaning, repair or other preparation.
Stop and Ask
Our rule for when something is unclear, unexpected or potentially unsafe: pause the task and speak to staff rather than guessing.